How to Revive Your Neglected Sourdough Starter…
If you’ve got a sourdough starter that’s been sitting in the back of your fridge for weeks (or even months), don’t worry—most starters are resilient and can be brought back to life with a little love and care. Here’s a simple, step-by-step guide to reviving a neglected sourdough starter and getting it back to bubbly, active life.
Why Bother Reviving an Old Starter?
Often times reviving an old starter requires less time than starting a new one! Sourdough starters develop unique flavors and personalities over time, becoming an essential part of your bread-making routine. Instead of starting from scratch, reviving an old starter means you’re keeping the same beneficial bacteria and wild yeasts that have been fermenting and strengthening over time. Plus, it’s satisfying to see an old starter come back to life and produce delicious, wholesome bread!
Signs Your Starter Needs Reviving
You can tell a sourdough starter needs some attention if:
- It has a dark, watery liquid on top, often called “hooch.”
- It smells very acidic, like vinegar or even nail polish remover.
- It doesn’t rise much or show signs of bubbling when left at room temperature.
None of these signs mean your starter is “dead”—it just needs feeding and time to regain its strength.
How to Revive Your Starter in 5 Easy Steps
Here’s how to bring a neglected sourdough starter back to life:
Step 1: Stir and Discard
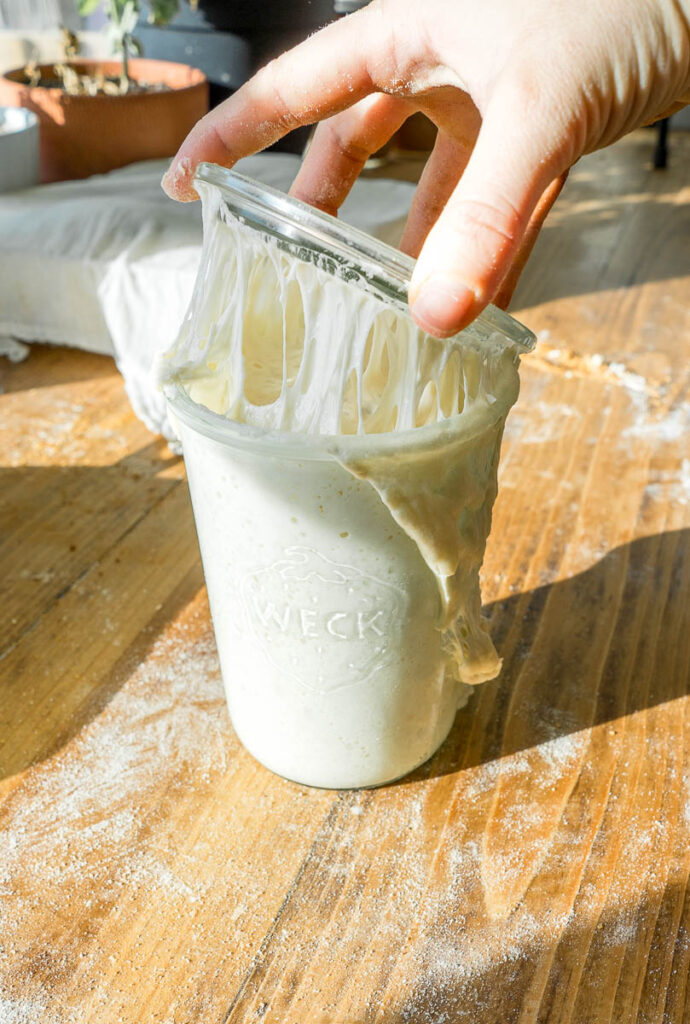
- Stir It Up: First, stir in the hooch, which is the liquid on top of your starter. The hooch is a natural byproduct of fermentation, and while it’s safe, it can add an overly acidic flavor. Stir it in or pour it off if you want a milder flavor.
- Discard: Remove about 80% of the starter to reduce acidity and concentrate on building up the healthier yeast and bacteria. Keep only about 1–2 tablespoons of the starter for feeding. If you want more in depth information on feeding your starter, read here.
Step 2: Start Feeding
- Feed with Flour and Water: Add equal parts (by weight) flour and water to the remaining starter. For example, use 30 grams (about 2 tablespoons) of starter, 30 grams of flour, and 30 grams of water. I highly recommend using a kitchen scale for this.
- Use Fresh, Unbleached Flour: Fresh flour provides natural yeasts and nutrients, essential for your starter’s health. Unbleached all-purpose flour or a mix of all-purpose and whole wheat flour works well.
Step 3: Keep at Room Temperature
- Let it Sit in a Warm Spot: Place your fed starter in a warm area, ideally between 70°F and 75°F (21°C – 24°C), to encourage fermentation. Leave the container uncovered or loosely covered with a cloth.
- Wait 12–24 Hours: Check your starter periodically. You should start seeing bubbles and notice a pleasant, slightly sour aroma developing. This means the wild yeasts are waking up!
Step 4: Feed Again (and Again)
- Discard and Feed Twice Daily: For the next 2–3 days, discard most of your starter and feed it with fresh flour and water every 12 hours. This regular feeding schedule will build up the yeast activity and help balance the acidity.
- Look for Rising and Bubbling: Your starter should begin to double in size within 4–6 hours of feeding. This is a good sign that it’s active and ready for baking!
Step 5: Return to Fridge or Use for Baking
After a few days of consistent feeding, your starter should be back to its old self—bubbly, airy, and with a pleasant sour smell. At this point, you can either store it in the fridge for weekly feedings or keep it on your counter if you plan to bake frequently.
Pro Tips for Keeping Your Sourdough Starter Healthy
- Feed Regularly: If you’re not baking weekly, feed your starter at least once every two weeks to keep it healthy.
- Switch Flours for Variety: Adding a bit of rye or whole wheat flour occasionally can give your starter a nutrient boost. I love to order my flour in bulk from Azure Standard.
- Keep Track of Smell and Texture: A healthy starter has a mild, pleasant sour smell and a smooth texture. Watch for any off smells or changes in color, which can indicate contamination.
Troubleshooting: What if Your Sourdough Starter Isn’t Bubbling?
If, after several days of consistent feeding, your starter is still sluggish, try the following:
- Increase Temperature: Place your starter somewhere warmer, as warmth speeds up yeast activity.
- Add Whole Grain Flour: Whole grain flours (like rye) provide additional nutrients that can help kickstart activity.
- Be Patient: Sometimes it just takes a little longer, especially if it was neglected for a while. Keep feeding it twice daily, and it should eventually come back.
Final Thoughts
Reviving a neglected sourdough starter might take a few days, but the process is rewarding and well worth the wait. With patience and regular feedings, your starter will be back to its bubbly, yeasty self in no time, ready to create flavorful sourdough breads, pancakes, and more. Embrace the slow, satisfying ritual of caring for your sourdough—it’s all part of the journey to delicious homemade bread.

Have any tips for reviving starters, or want to share your experience? Drop a comment below!


